Jeff and I lived in Brooklyn for quite a few years, and during that time we made many excellent “street finds.” For those of you who hail from places where it isn’t totally normal to source your coffee table from the sidewalk, let me explain. In densely populated urban areas, particularly those filled with liberal and idealistic young people, there exists a culture of recycling/upcycling. In these places you typically can’t take your old books and furniture to a dump or transfer station, and it’s generally a headache to transport said items to the local Goodwill. So, what do people do? They put their discarded belongings on the street. Hence, “street finds.”
There are a few rules of the game, of course. Items that are truly broken should go in the trash or recycling. On the consumer side, you should absolutely never take mattresses or furniture with upholstery because you must assume they are full of bedbugs that will invade your home and ruin your life. Some people have strong feelings about wood, as well, but I have chosen to throw caution to the wind. And that brings me to the point of this post.
Whether it’s on a street corner, in a relative’s attic, at a tag sale or any number of other places, it’s often possible to find good quality wooden furniture for little or no money. Yes, at first glance it might look battered or past its prime, but the beauty of wood is that it can easily be restored to its former glory (or even made better than before!). Jeff and I have had some really good experiences refinishing street finds or other cheaply sourced wooden furniture, so today I wanted to highlight a few examples.
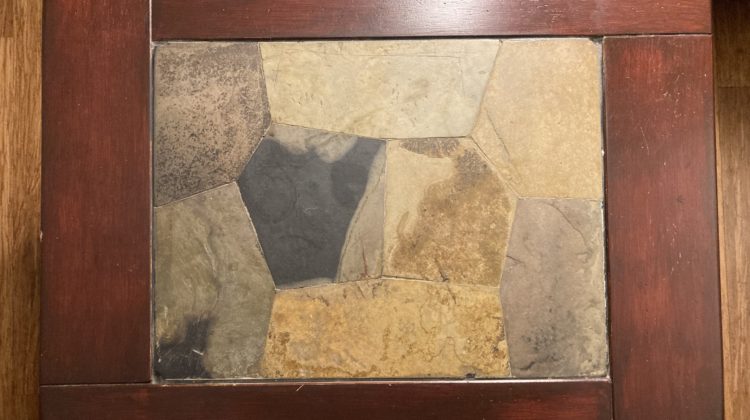
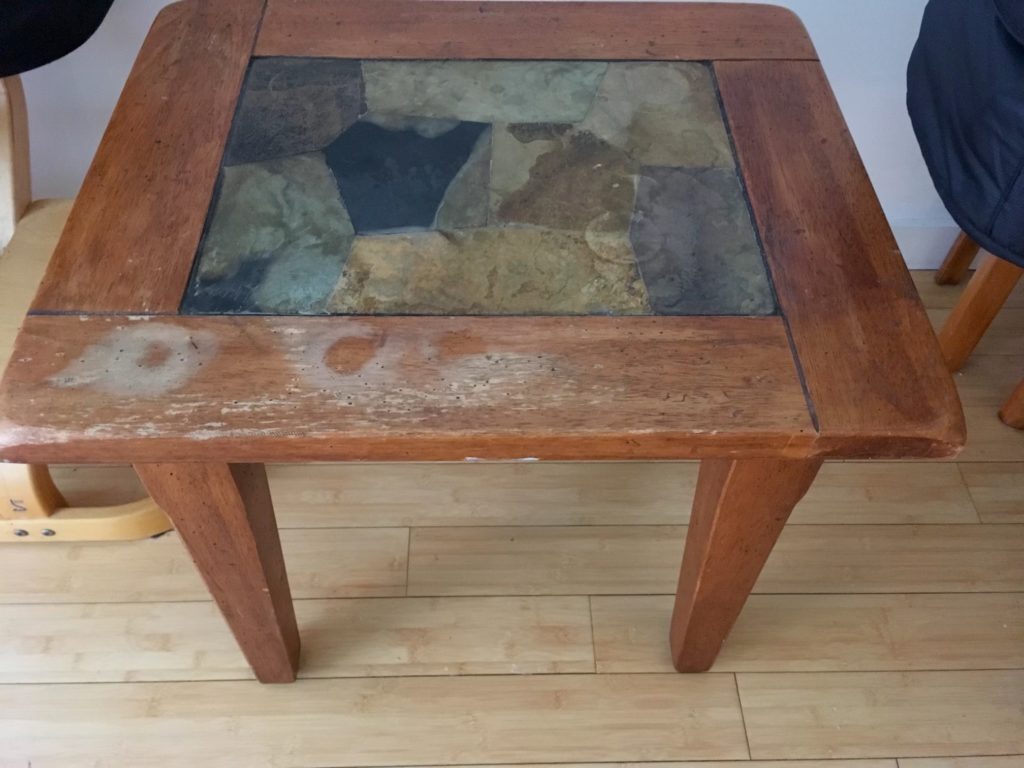
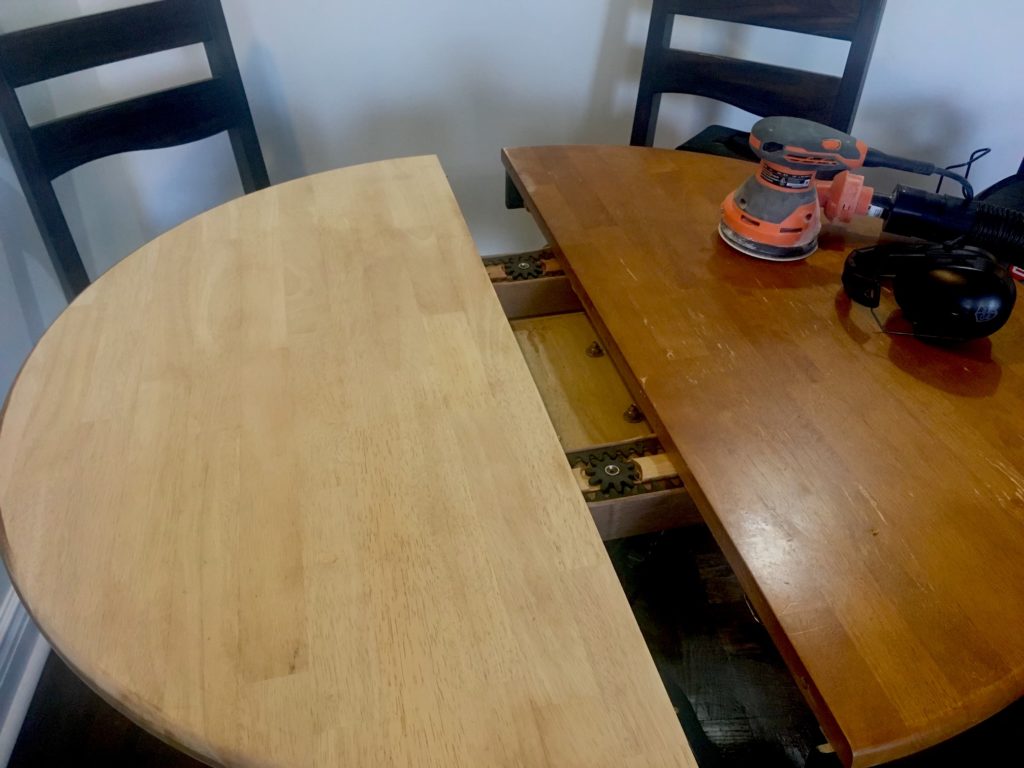
Interestingly, two of my favorite cheap/free things we have refinished have been from World Market. The first was a pedestal dining table that we sourced from Craigslist, and the second was a side table that Jeff found on the street. Both were pretty sad when they came into our lives, and we also didn’t care for the original stains. That being said, they were both made of real wood, with surprisingly decent construction. So, we knew with a bit of labor, we would end up with some reasonably nice pieces of furniture.
What are the steps to refinishing street finds (or any pieces of wood furniture)? Really, it’s pretty straightforward, and I’m sure you could find much better and more detailed articles on this topic. But, let me give you a rundown of the basic steps.
1. Clean all surfaces. I’m a fan of Murphy’s soap. In some cases a chemical stripper may be advisable before you start sanding, but I have not often used one.
2. Sand all surfaces compulsively with increasingly fine grits of sandpaper. I think you know this already, but just in case, DON’T SAND AGAINST THE GRAIN.
3. Clean all surfaces again. A tack cloth would be advisable at this juncture.
4. Prepare your wood for paint or stain. There are various products for this (pre-stain conditioner; mineral spirits; sanding sealer; primer, if you are using paint, etc). Do your research to find out what makes sense for your project. I used to think these wasn’t a lot of skill and know-how to finishing. Totally not true. You really need to know your stuff and be thorough with your prep.
5. Apply your paint or stain. Read your product’s instructions carefully to minimize the chance of a total disaster. Let it dry completely before moving on the next step or deciding you have failed.
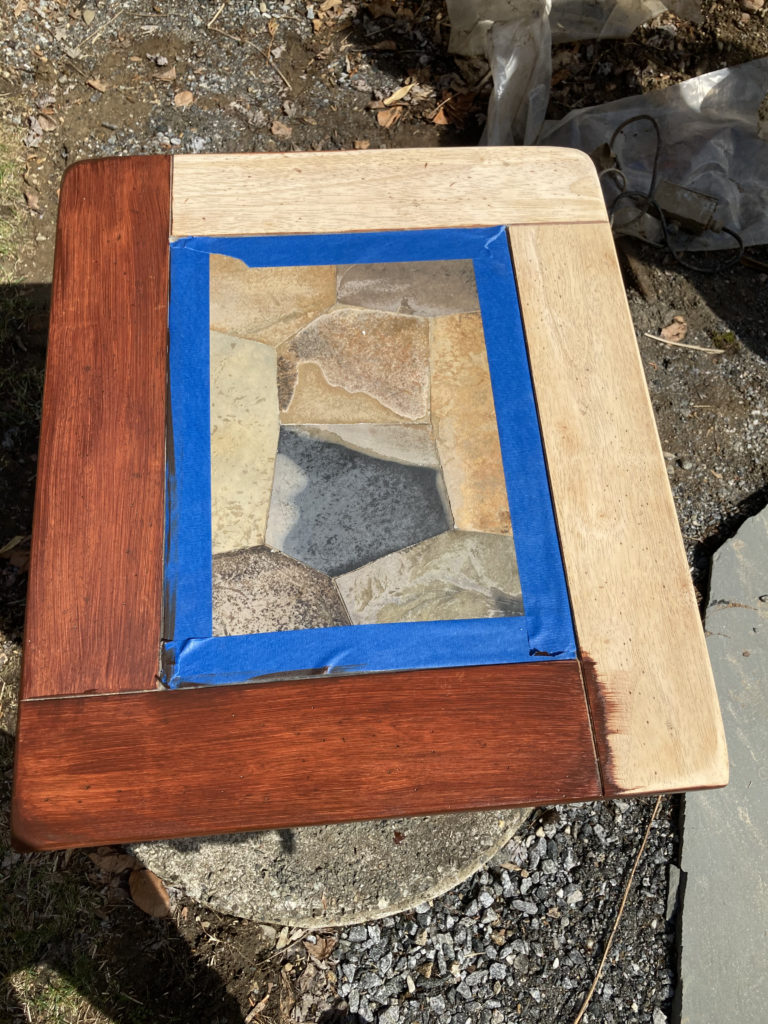
6. If you are painting, sand all surfaces again, but less compulsively than before, and with only a fine grit sandpaper. If you are using stain, you may be able to skip ahead to step 8, depending on how deep of a tone you are looking to achieve.
7. Apply another coat of your paint or stain. Remember the instructions and don’t get overly confident if the first coat went well. Disaster could strike at any time. Once again, let it dry completely as indicated in the directions before moving on to the next step or declaring that all is lost.
8. Apply a top coat. This could be water based, oil based, perhaps even wax, if that’s how you roll. Apply something, please. You just did a lot of hard work, and you want to protect it. And, once again, read the instructions, because you may be surprised to learn that your top coat won’t be fully cured for a week. If that’s the case, don’t try to use your furniture tomorrow. It will end badly, I promise.
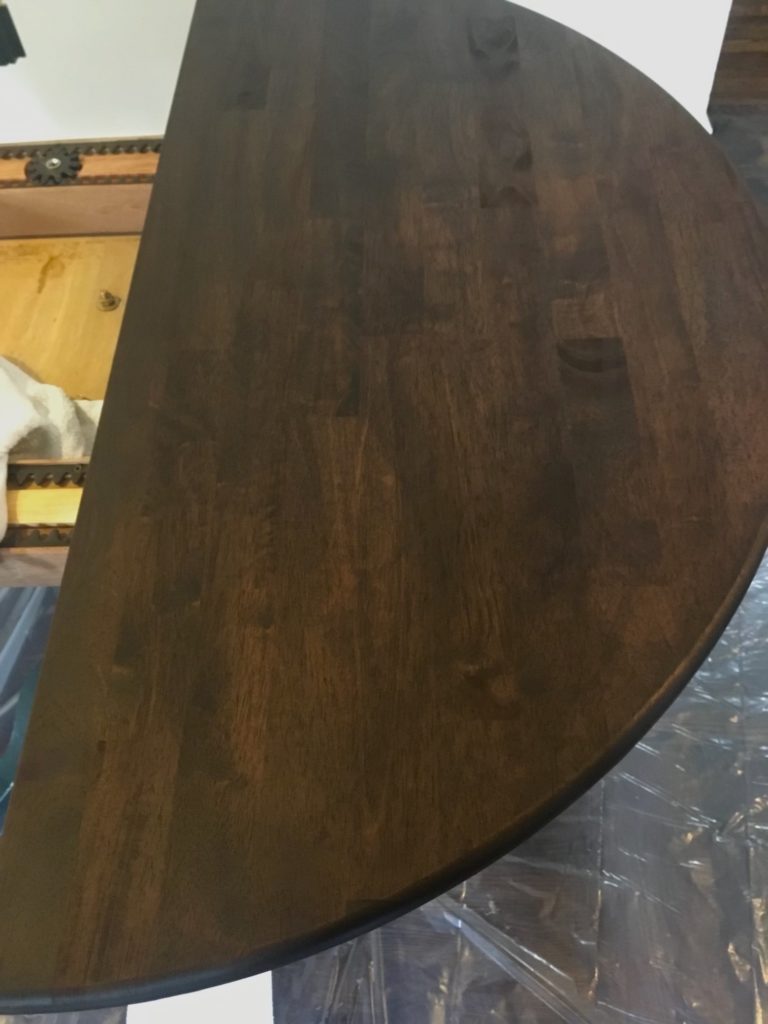
That’s it! Easy, right? As you have guessed, I’ve had some projects that were less than totally successful, usually when using paint. The two World Market pieces I mentioned above, though, were actually pretty easy and straightforward. The wood was in very good shape once the old stain was removed, and the surfaces sanded down nicely. The stain went on evenly and the color was more or less as expected. The top coat also went on well and dried smoothly. We resisted the temptation to use these pieces of furniture too soon. Success!
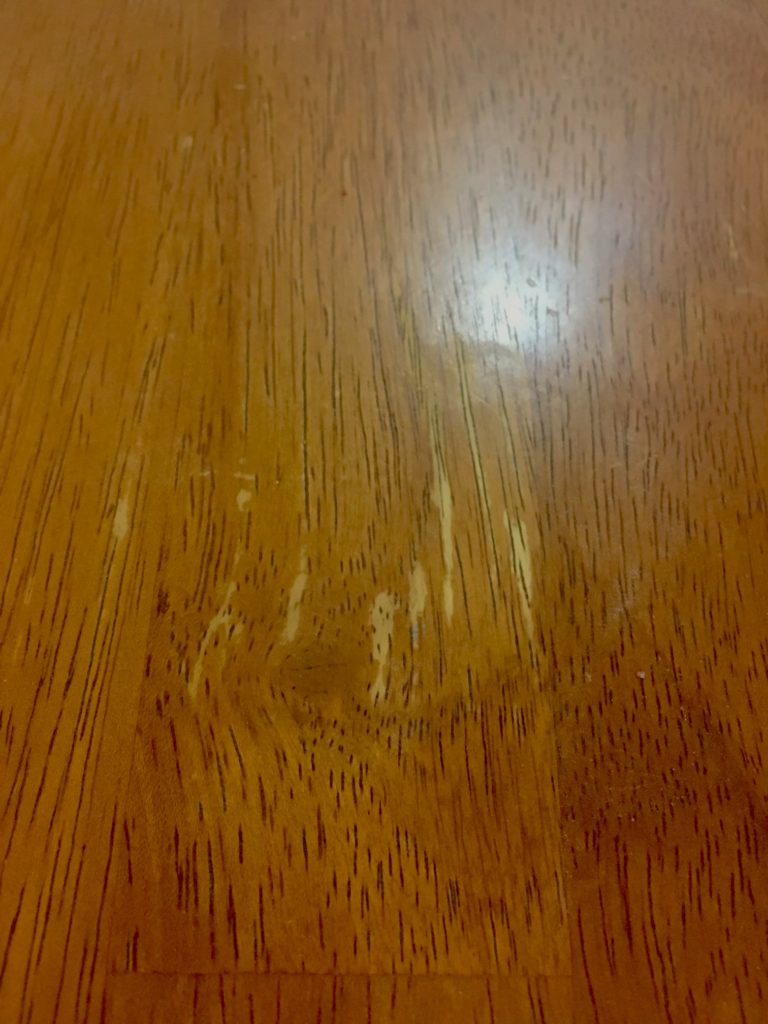
Now, since we finished these projects, our kids have beat on these tables mercilessly. The dining table, which we stained with a gel stain, has held up incredibly well, all things considered. Our kids have literally dragged their forks and knives across its surface, and the stain has held up. The side table still looks good, too, but our son managed to saw down to raw wood on one side. I used a regular water-based stain on that piece, so perhaps the stain didn’t penetrate quite as deeply. Or perhaps when your four year old saws at any piece of furniture with a knife there will be some visible damage.
I hope to post again about refinishing furniture, including some examples when the stakes felt a bit higher than with a street find. In the meantime, enjoy some additional photos of the finished projects here!

Leave a Reply
You must be logged in to post a comment.